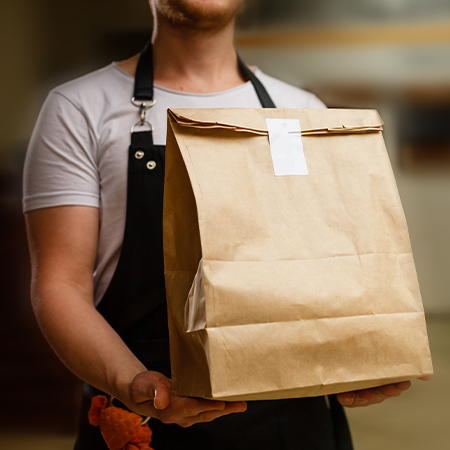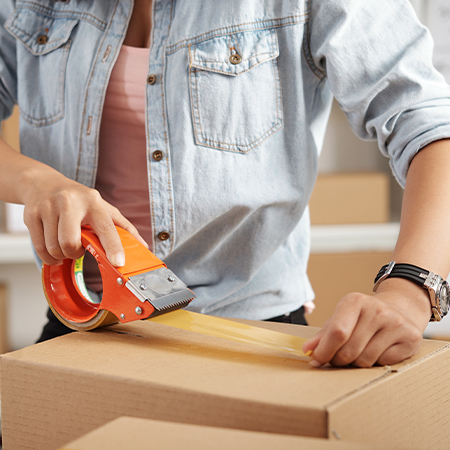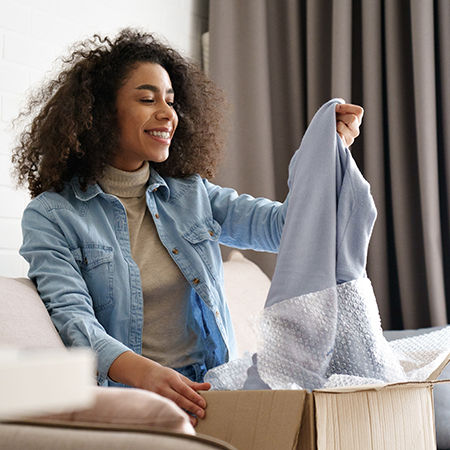
E-commerce packaging is as big as ever. But conceptualizing the packaging of your product is certainly nerve-wracking, particularly if you have no design expertise or are totally clueless as to where to start.
Packaging has been almost as critical as the product and needs extensive testing and preparation to ensure that it complements your products and your brand.
If you are in the early stages of designing the first branded e-commerce packaging for your online goods and want to get the best out of the process and your budget, read on! This guide is intended to help lead you through the process of making your e-commerce packaging the most effective.
-
Budget, Product Placement & Determining Dimension
Initially, you would need to learn if your ultimate packaging target is matched with the reach of your budget. You don't want to go stuck into the manufacturing cycle by knowing that you don't have enough money. Your budget is going to shape the type and direction of your packaging.
When that has been decided, start talking about how to put the products in the package, because that would decide the shape of the case.
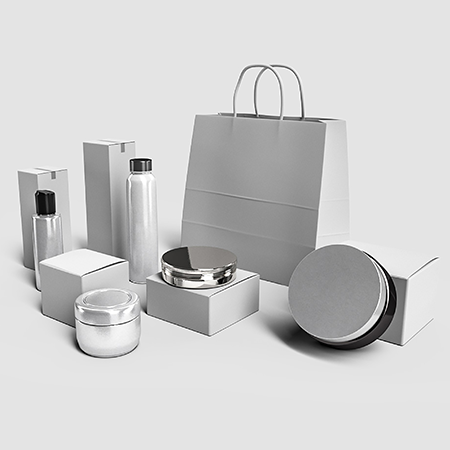
If you're in the cosmetics or beauty business, for example, it's common to place your products where their full size, shape, and color can be seen.
It will all rely on you, but it is also important to know how big or how small the packaging will be, because that would also impact the cost.
Based on where you choose to put the package and how much room it will take, you can now decide the size of the packaging.
-
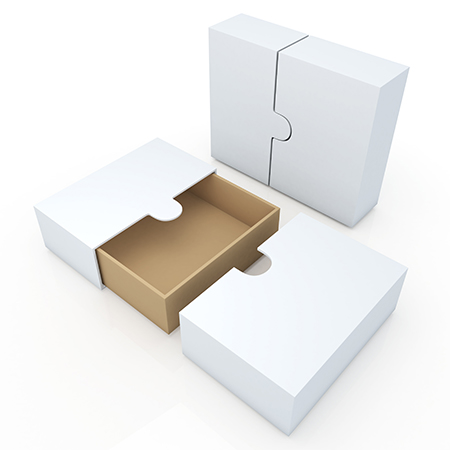
Choosing the Best Packaging Options
Now that the dimensions have been finalized, you can start searching for the perfect structure for your product.
There are a lot of options to choose from. Be careful to decide on the basis of your needs and specifications.
-
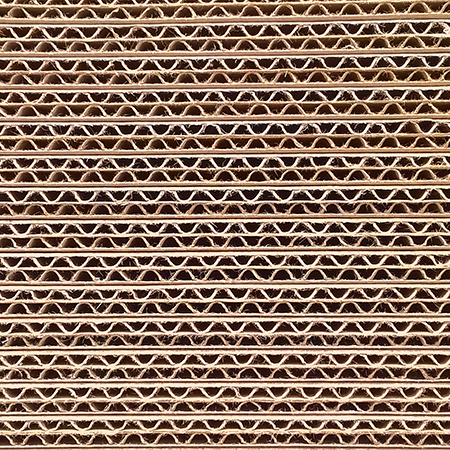
Material Thickness
Usually, the manufacturer would automatically make a decision on the thickness of the paper based on the weight of your items and the size of your package. However, it is still good to have an understanding of what they are.
Flutes are used as the basis for material thickness for corrugated packaging.
-
Choosing the Right Print Type
Print quality greatly influences the appearance and general feel of the packaging of the items.
Here are the two main package printing options:
Digital Printing
Digital printing is the act of converting a document on a laptop or other computer storage unit onto a different printing substrate via a device that accepts graphics and text output.
It is ideal for low volume orders and is much cheaper than other printing methods. It works best with e-commerce packaging boxes.
Just a note, strive to keep your artwork as simple as possible in terms of detail and color. Simplicity can have higher output efficiency when printing digitally.
Getting so many tiny details and lots of colors in digital form can cloud the overall consistency of the artwork.
Offset Printing
Offset printing is a printing press technique that transfers the ink from a plate to a rubber roller (or blanket) and then to a paper sheet.
It is usually used for printing vast numbers of newspapers, brochures, stationery, magazines and boxes with the highest print quality.
The cost of offset printing is better for high volume orders (> 1000) because it reduces design and plating costs.
What makes offset the preferred printing option is its capacity to print in PMS Color and to create specific printing methods, such as matte & gloss lamination coating, spot UV, foil stamping and embossing, which can not be achieved digitally.
-
Material Stock Type
Choosing the correct material stock depends on your artwork and brand. Check out the options below:
Natural White (Digital & Offset): For colorful and flood printing
Bleached White (Digital): Lighter color production to subtly imitate offset printing.
Kraft (Digital & Offset): Environmental and rustic look – great with black printing and no coating needed.
-
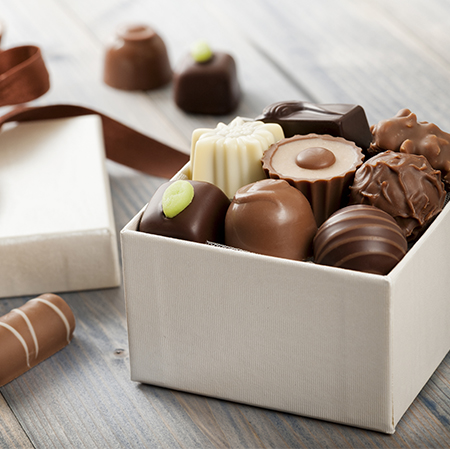
Add Custom Inserts
You can also consider adding protective or promotional inserts.
We have mentioned several forms of inserts for various uses, to help you determine.
Protective Inserts
You may use cardboard or foam inserts to separate your products, if you want to secure and organize your product.
These kinds of packaging inserts prevent the movement of your products around the box during transit. They also enhance your customers' experience upon receiving their boxes.
Thank You & Promotional Inserts
Thank you inserts are one of the cheapest ways to improve product recognition, consumer satisfaction and sales.
Not only will a personalized message make your customers know you value them, it will also encourage them to experience their "customer journey" as a personal encounter.
-
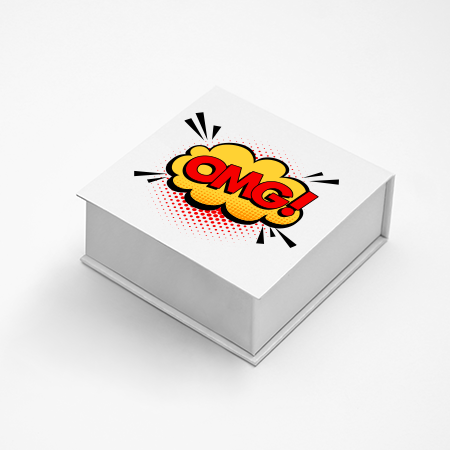
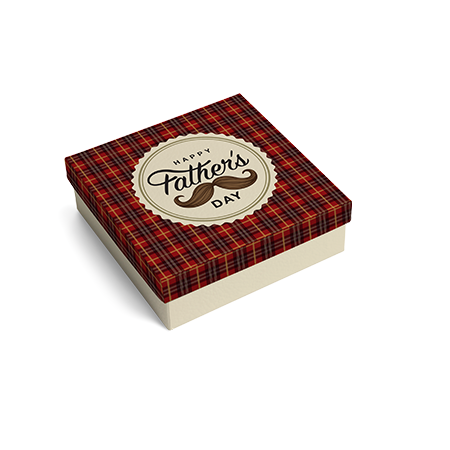
Artwork Design
Here are basic elements that you can integrate into your artwork to communicate with your clients. In fact the printed design is the first thing that they see and interact with.
Message
It doesn't require fancy letters or designs to catch the customers' attention. It's just about getting a well thought-out marketing message that reflects the style and value of your company.
Brand Color Scheme
Make sure you use all the color components of your company in your artwork. If your website, blog pages, and merchandise all use pastel shades, so it would make sense to use them in the packaging as well.
You should also understand color psychology and select which emotions you want to trigger in the customers. and choose colors accordingly.
Brand Logo
Brand logo should be visible when your box is received (either inside or outside the box). Make sure your brand name sticks out and is identifiable.
-
Process of Prototyping
You're so close to making the ideal package! This phase is one of the most important aspects of the operation, since it is a way to check the consistency of the packaging.
It is recommended that a prototype be produced (to validate the structure and printing of the final production of the packaging).
Imagine getting 10,000 boxes of the wrong size. It’ll be a terrible situation!
The safest choice is to request a Physical CTP Proof (to test printing) and a non-printed sample (to confirm the structure).
A custom sample is also another nice choice. This helps you to see if the artwork blends into the structure.
The main downside for design prototypes, though, is that they typically get printed in digital format. If you are producing in offset for the final output, the sample and final production may not 100% match in colors.
In this scenario, having a real CTP Proof will be ideal for offset printing, because it tells you precisely what is going to be printed on the box.
-
Production and Shipping
In the last section of this guide, you will have minimal involvement. That is where the supplier mass manufactures the packaging on the basis of your final requirements.
The supplier would usually be the one to take control of this aspect of the operation but you do have the option to take responsibility for the delivery.
You can ship your products in three different ways:
Sea Freight: Usually the cheapest international shipping option
Air Freight: Local or international, fastest and most expensive
Train or truck: Local
Logistics can be a challenging operation, particularly if you are shipping internationally. Luckily, companies such as LuxBoxPack do all the shipping work for you!
-
And The End!
Don't let the process confuse you, rather, see this as an opportunity to connect to your target audience.
This will encourage you to create packaging that will help market your products and draw customers!
Starting your own e-commerce packaging can be overwhelming, but with proper planning, any brand can achieve success!